This block marks the first time we move to a more traditional approach to classes. I want my beginners to understand and identify positions in which they could submit, but I don’t necessarily need them to perfect the submissions. I have two main goals in this block. The first being my students can identify submissions both from an offense and a defensive viewpoint. The second being focused on safety. I need them to understand the dangers of a submission and I want them to be able to safely apply the submission. So my focus is more on the control and identification rather than detailing the exact breaking mechanics.
I won’t go into to detail on these submissions, there are plenty of great resources for the technical aspects on YouTube or Bjj fanatics. I will however talk about what submissions I chose to show and why.
The first submission we covered was an armbar from mount. Specifically from S Mount. For me this is the perfect place to start with arm locks. This position emphasizes the angles necessary to do the armbar, specifically getting T’d off to my opponent, this angle is everything and can be very difficult to learn from a guard position. So I think it’s important to show it from mount. Students tend to have a better understanding of the movements when they are upright and looking down. Our focus was on controlling the shoulder and the wrist while applying breaking pressure to the elbow. We also talked about chasing the direction of the break. We did this in groups of 2 students, drilling the technique with passive resistance. I wanted to make sure the students understood the importance of being a good uke. How to give a good feed without fighting the position or reacting in an unrealistic way.
Day 2 moved on to guard arm bars. I love this because it mirrors our day 1 class. The same angles are necessary for the arm bar to work. I need to be T’d off to my opponent in order to cover the head and trap the shoulder. With the context from day 1 the students had great success with this technique. The feeds from top player were mostly perfect, which allowed bottom player to have a semi realistic look at the submission.
Ultimately, with only 1 hour per armbar, divided by 2 students, means there’s no hope of detail comprehension, but that was never the goal. The goal is to make the submissions familiar enough that they can see them in live rolling.
Day 3 we switched to bent arm locks. We took a very similar approach to these. First we talked about the kimura from side control. This is a very fundamental submission that requires almost no input from the bottom player. Today was more about understanding the double wrist lock, which angles cause a break, and how we can mitigate our opponents defenses. We also included a transition to head mount to finish the kimura on an edge. Ultimately the takeaway was the double wrist lock. This is fundamentally important if we want to execute any type of bent arm lock (and twisting foot locks later on)
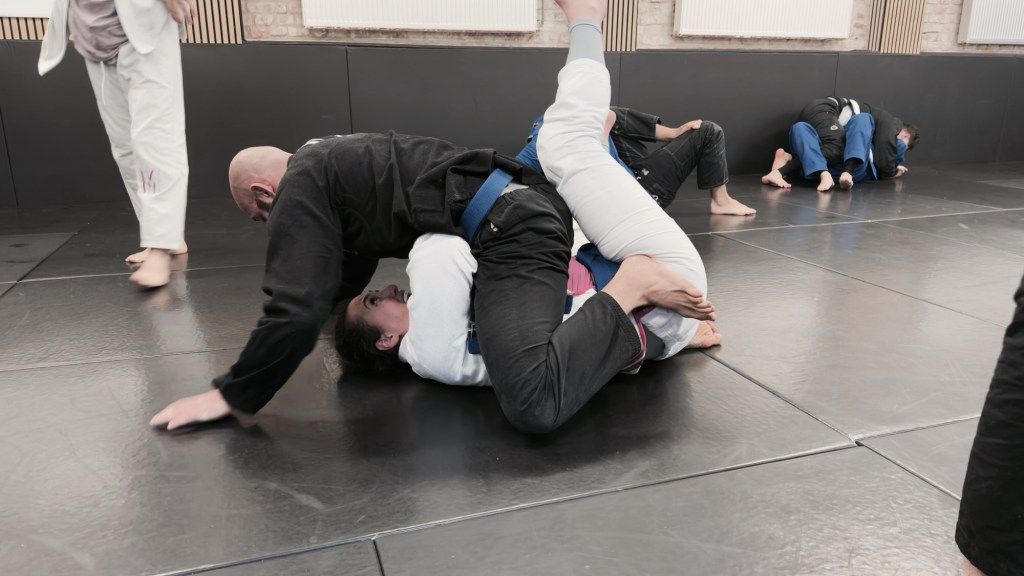
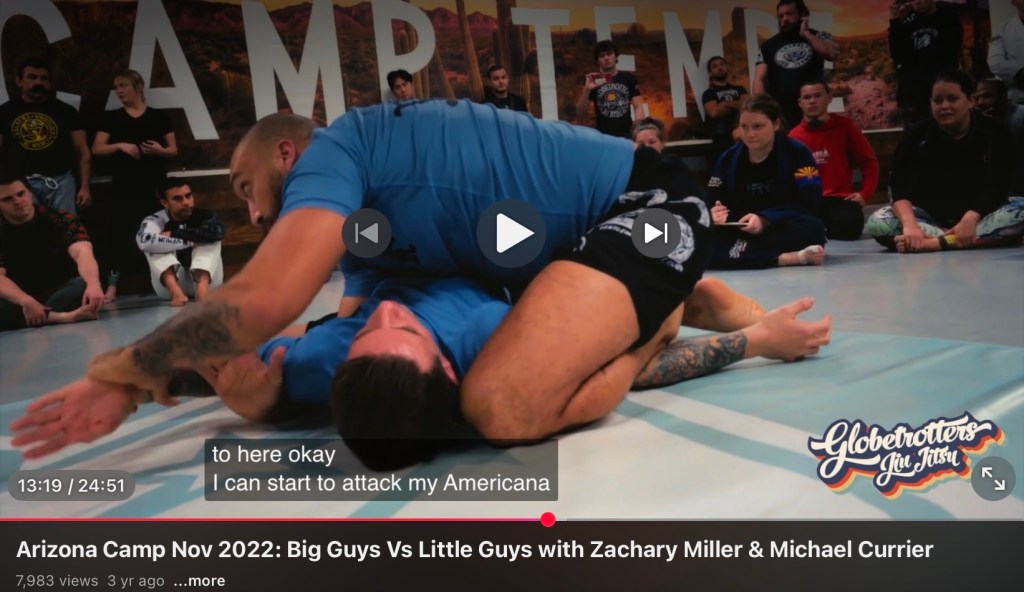
Day 4 took the same approach as the armbar, we start with learning the position from a topside position then show how it works from our backs. We changed almost nothing from the topside kimura, but this class gave me an opportunity to talk about what happens when there is a big size discrepancy. This came in the form of a question from a student. “How realistic is this for a smaller person against a bigger person”. For me, there’s nothing better than a great question and I’ll always answer honestly. It’s really really hard. Especially from a topside position. I make mention of this in my ‘big guy vs little guy” BJJ Globetrotters video. This is where the guard kimura becomes so important. It allows me to engage my feet to help with the submission. This ties into so many other concepts later on and I was very happy that I was able to talk about it in this class.
Day 5 we moved on to chokes. Specifically arm in chokes. Following our previous class pattern we started off with an arm triangle from mount. This is the perfect entry level head and arm choke. It’s something even beginner students can see early on with very little context. It’s also relatively safe in practice. Typically resulting in a gi burn or sore jaw at worst. My big focus on triangle chokes is all about angles. In many ways this looks a lot like the S mount arm bar. It’s a very similar angle and one I hope my students identify, as it’s a reoccurring theme with submissions.
Day 6 is our last day of this block. We covered traditional triangle from a guard position. Again, it’s important for me to show these submissions from a topside position first, then work to the guard position. I feel like the students have a much better understanding when they learn this way. No real mind blowing details from this one, just a very basic triangle.
This section is intentionally vague, I started to write up all the details I spoke about in each submission, but ultimately decided video is the best format for these. If anyone has any specific questions about these techniques you are always welcome to contact me or comment below. After this we move back to our regular class format and begin a block on side control.

Leave a comment